This time last year I had the most exciting project to date ahead of me. I was expecting our first baby, a little girl, and a total life change was ahead of us! So this project was also a very personal one: to design and set up her nursery!
My home office was about to become her safe haven, so I had to start making some decisions! The first one being that I did not like the shop bought baby furniture you find in most baby & child stores around. It was something about either the curved childish shapes or the boxy square standard set of units that didn't do it for me. So with the exception of her cot, I started adapting... I kept my bookcase in the nursery and doubled up a storage unit as a changing unit, but we needed a wardrobe, and failing to find one with the dimensions I needed and an appealing design, I resorted to a good old ikea hack!
We purchased the Aneboda wardrobe in white for only £39. And then the fun started :) I had some textured white wallpaper at home and it was the perfect fit to cover the plastic panels in the wardrobe while adding texture and creating an unique piece for her.
It was a very simple job as all the materials I needed to complete this project were Mod Podge, the wallpaper and clear gloss varnish.

And here is a super easy step-by-step guide:
First, I measured the length of wallpaper I needed, and then made sure the design was aligned with the door panels to make the centre of the design in the wallpaper match the centre of the panel.


Once I cut the wallpaper strip to size, I applied one coat of Mod Podge to the panel, then carefully placed the paper in place. Make sure you apply the wallpaper one small section at a time, to avoid any air bubbles forming (and press them out carefully if this happens).

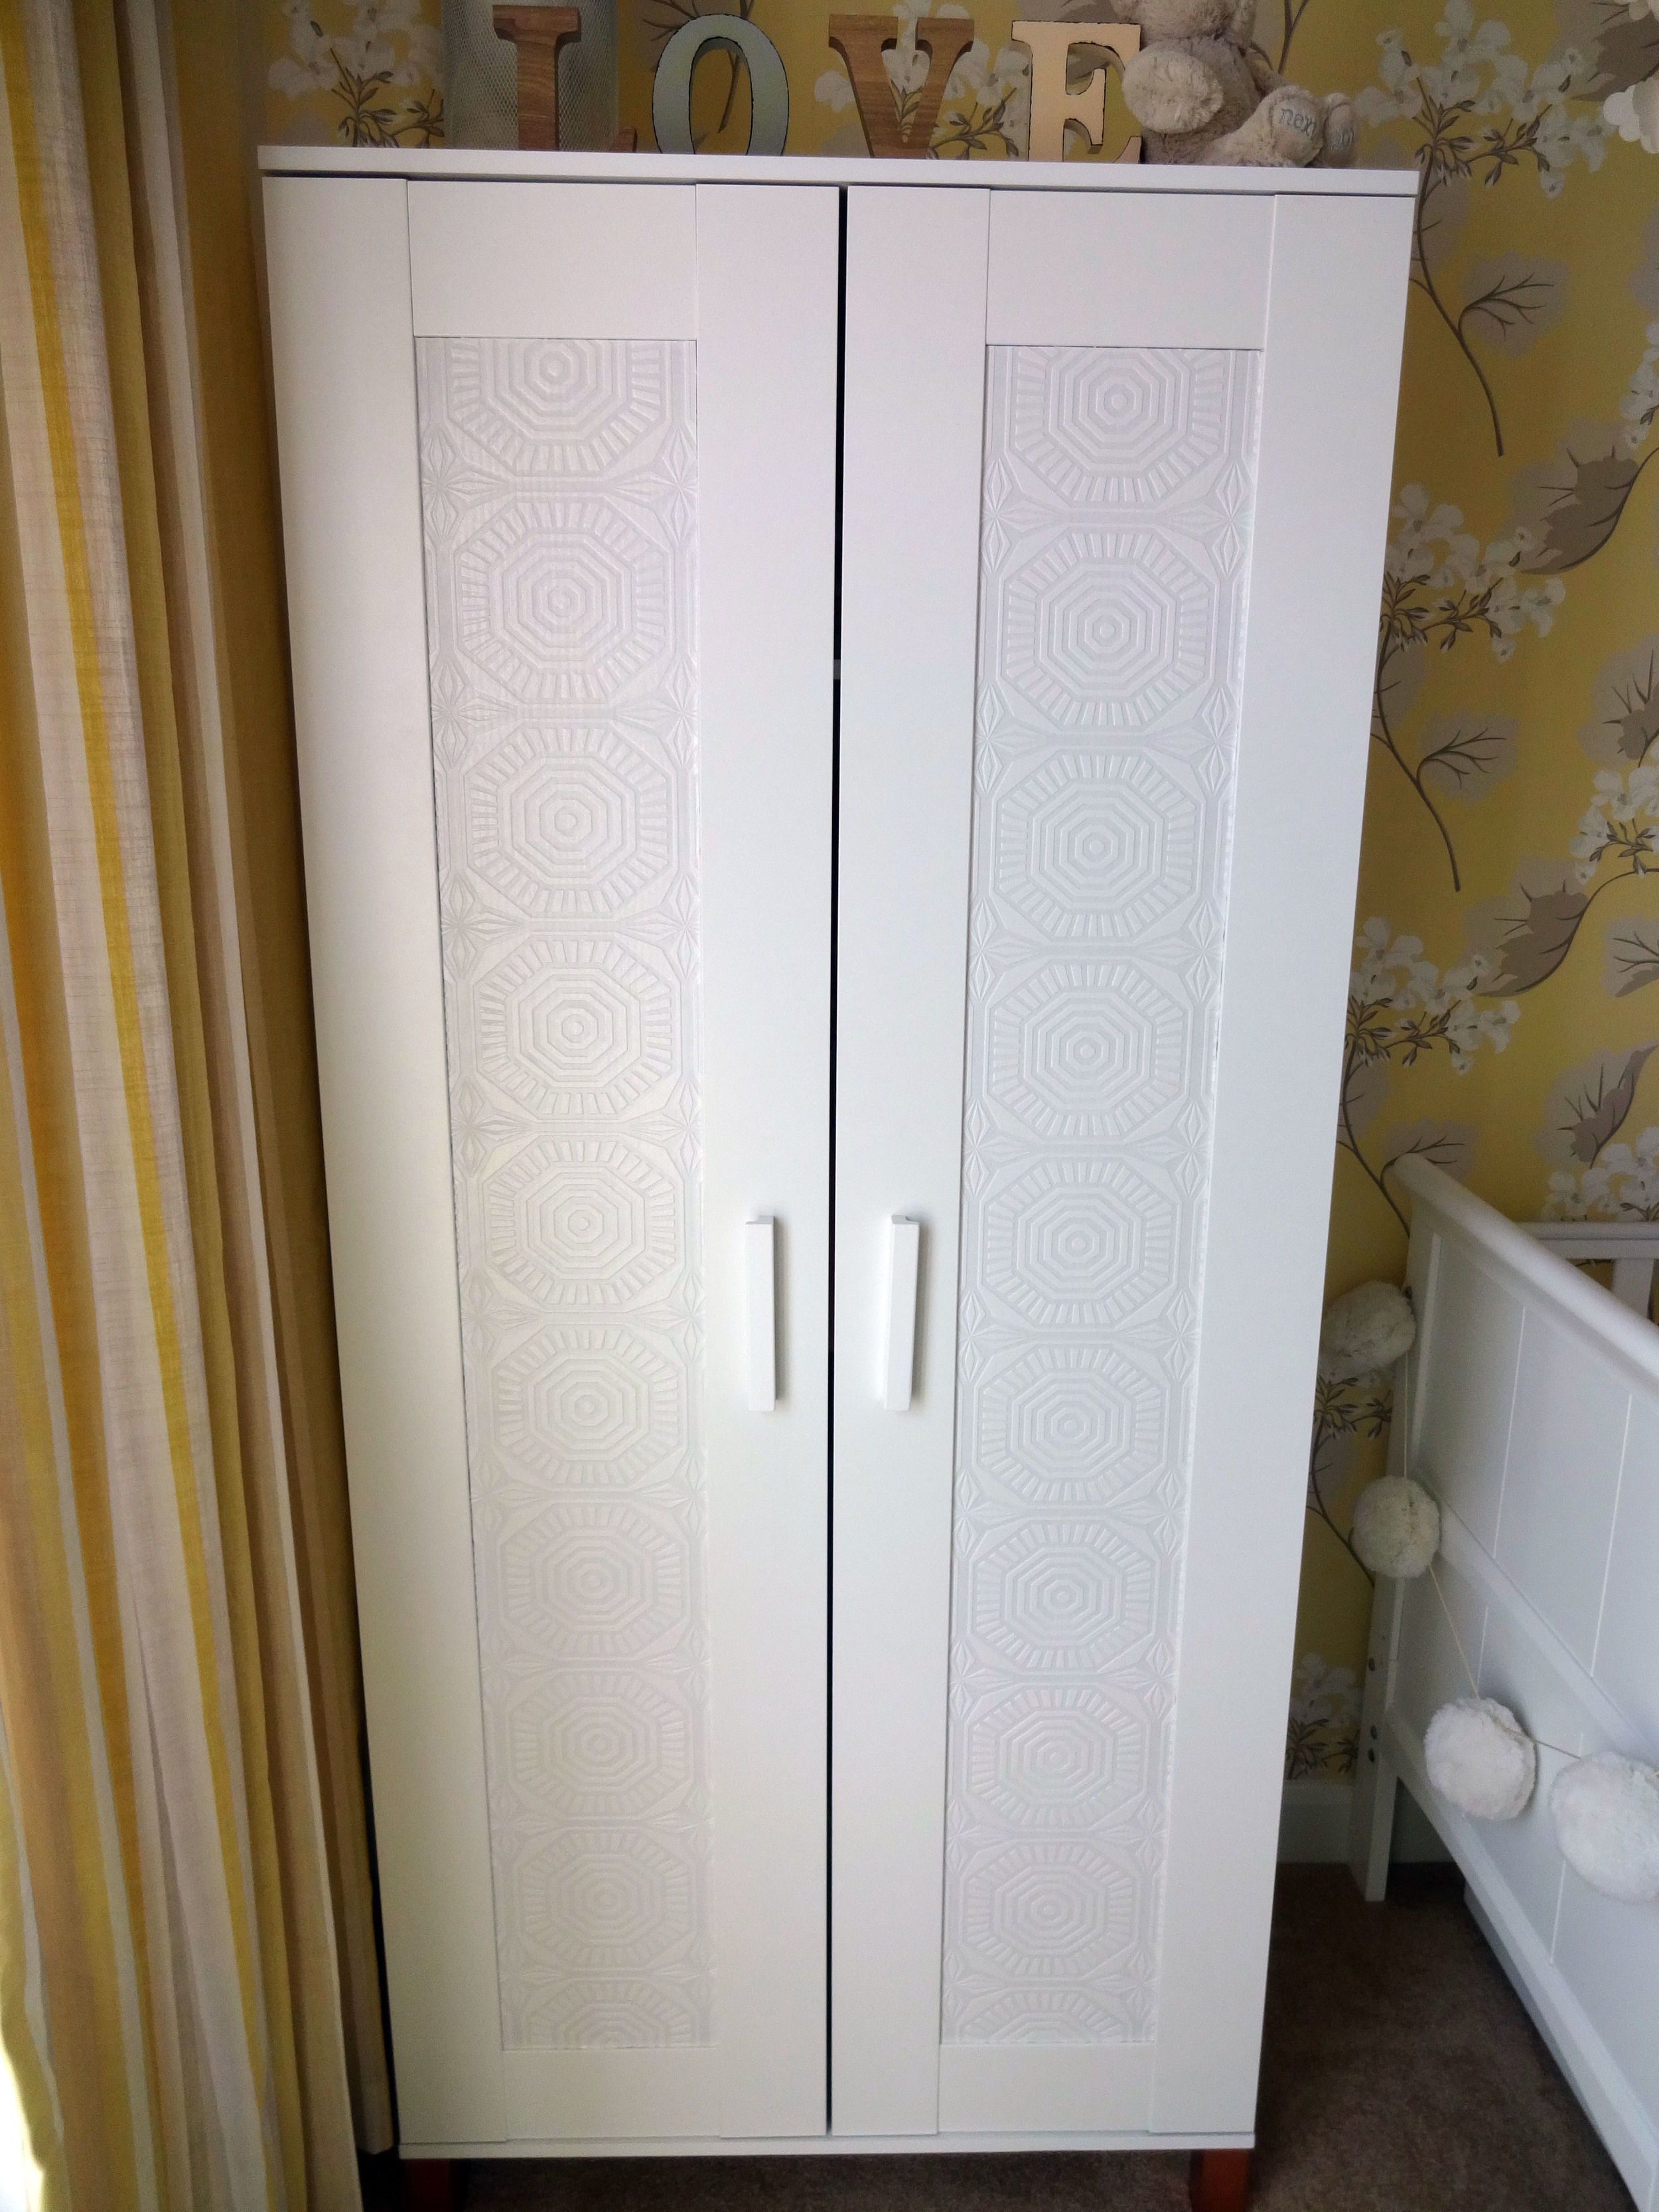
Once both panels were in place, I applied one coat of varnish and voila, the wardrobe doors were done! Just needed to wait for the varnish to dry and they were ready for hubby to put the wardrobe up...

In the meantime I also spray painted the legs copper with some Rust-Oleum paint, so the wardrobe appears as though it's 'floating'.
Here's the finished result!

You could even take it one step further by painting the wallpaper panels (as they are paintable anyway!)
So easy, and I love the end result!
#wallpaperisnotjustforwalls #wardrobeproject
Leave a comment